



Comparative lead-in: why Micro-LED stands out
Micro-LED sits between classic LED walls and OLED, and the difference matters when you design a space for impact or sports. This guide compares brightness, durability, and installation cost so you pick right for lounges, arenas, or retail. Real installations like Times Square digital faces show how scale and viewing distance change choices — those billboards reach hundreds of thousands of passersby daily, so the spec decisions are strict. For outdoor-ready contexts you may also consider an outdoor led screen alternative when weather and sun exposure become decisive.
Core technical contrasts that affect real outcomes
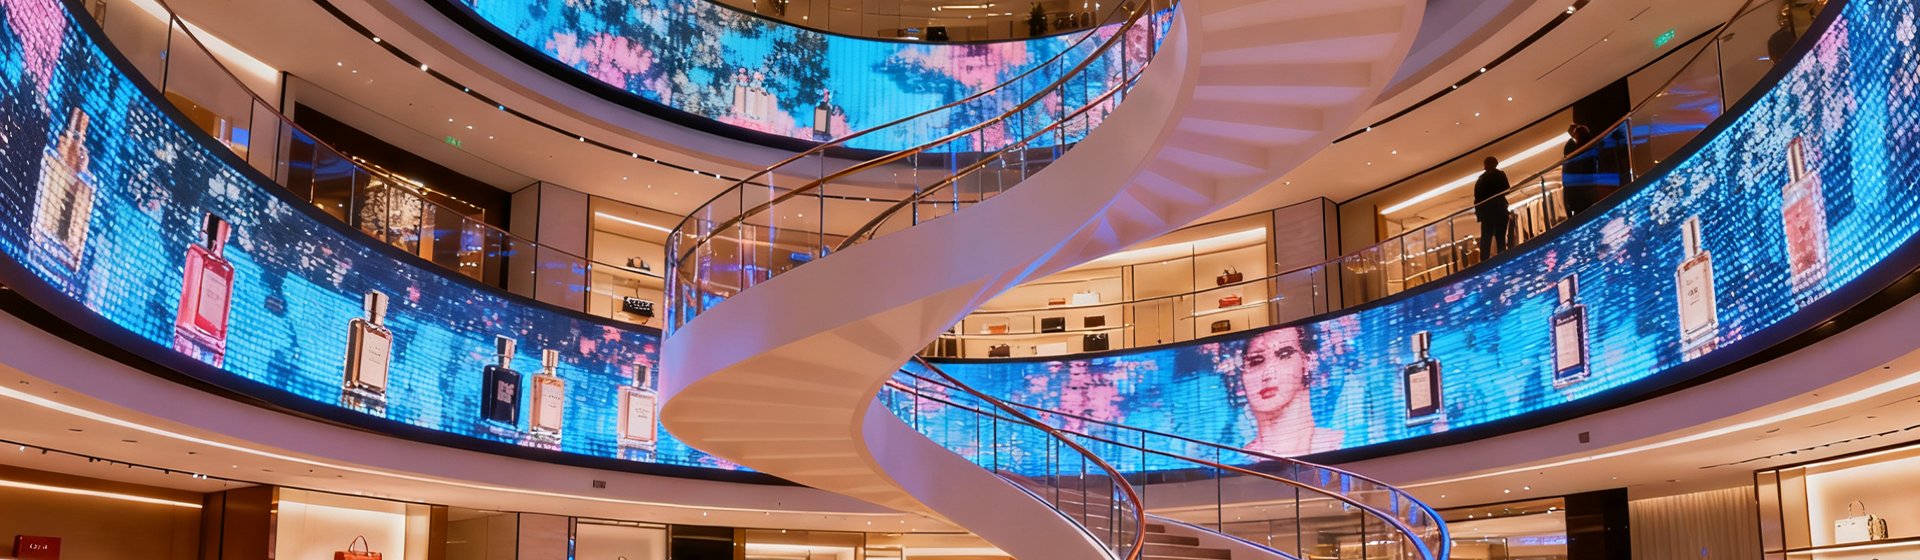
Micro-LED brings tiny emitters, tight pixel pitch, and high luminance with lower burn-in risk compared with OLED. Indoor LED cabinets often favor larger pixel pitch to save cost, but that reduces detail at short viewing distance. Stadium displays push brightness (nits) and refresh rate for broadcast-friendliness, while indoor installations prioritize color uniformity and calibration. Thinking in terms of pixel pitch, module replacement, and cabinet alignment helps you match content style to viewing distance and audience size.
Operational production teardown — how these displays are built
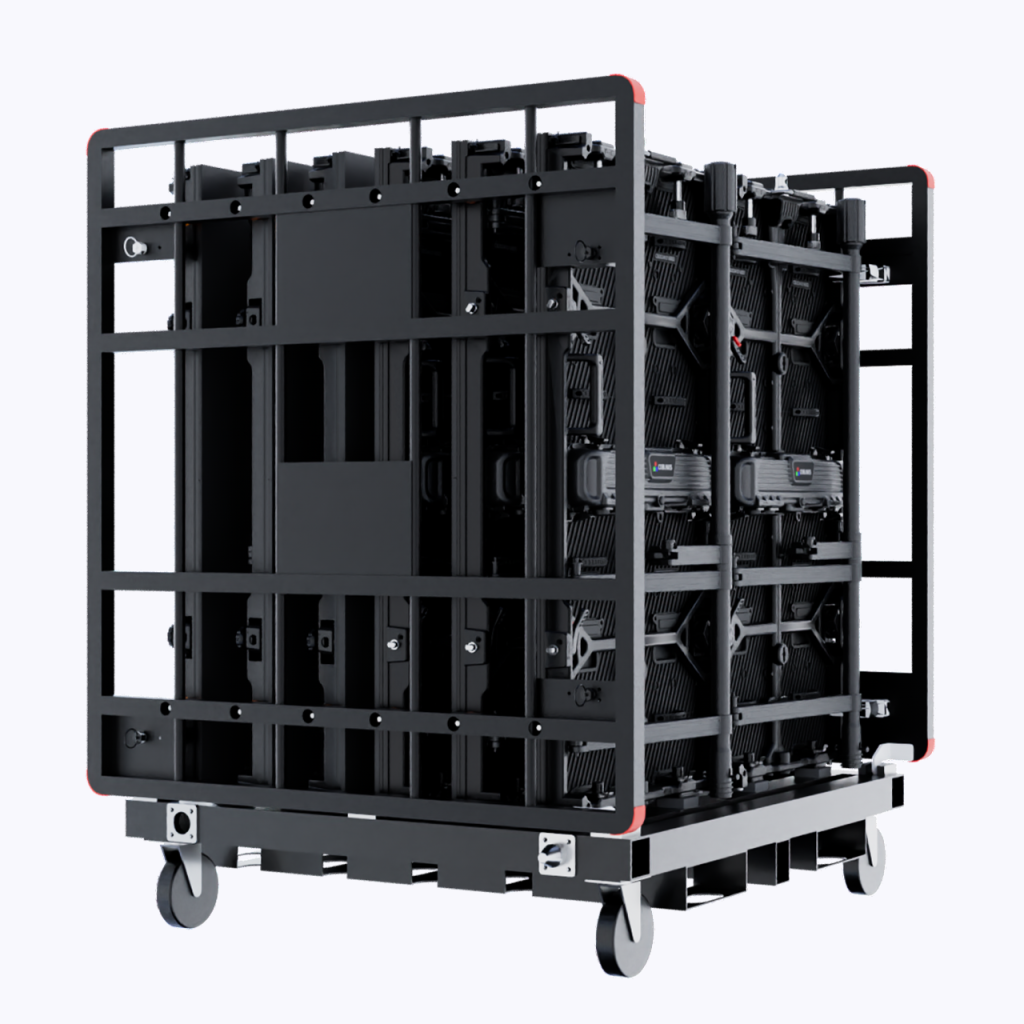
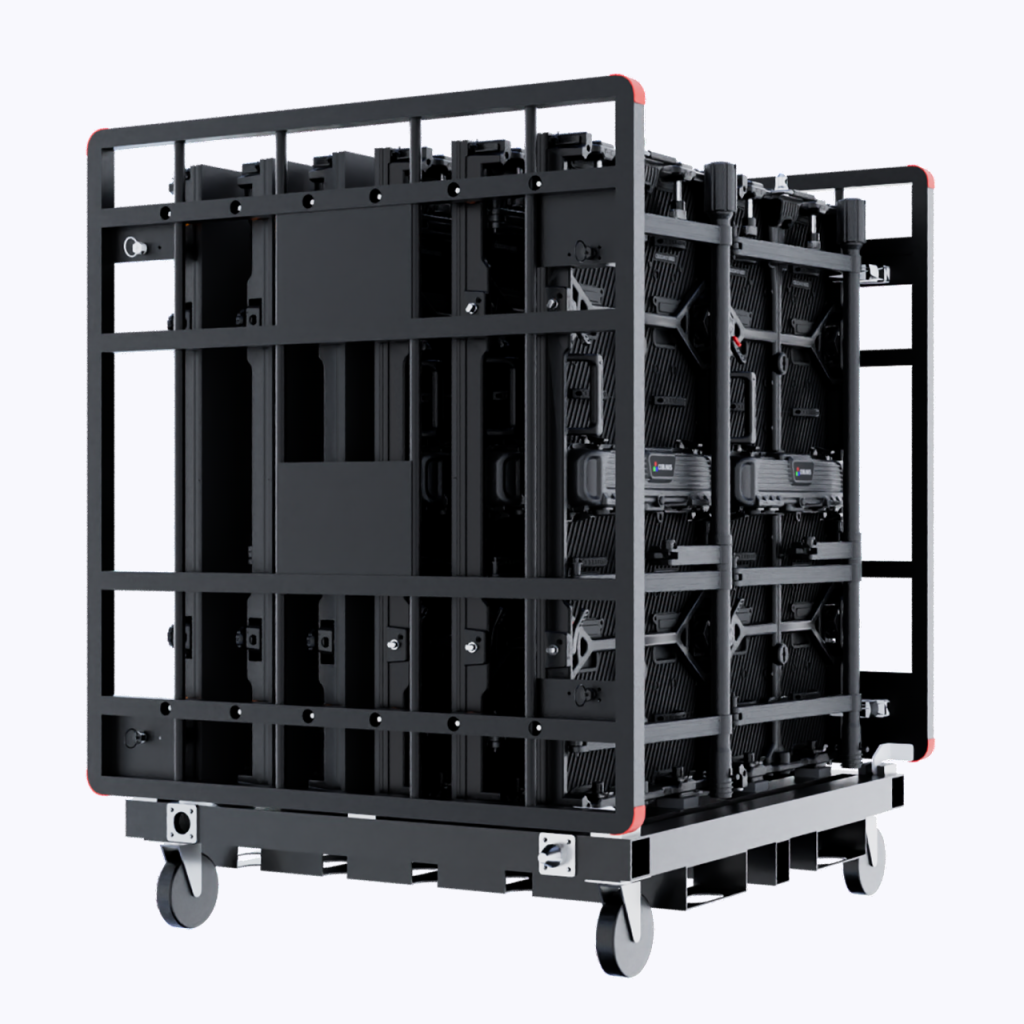
Manufacturing for Micro-LED and traditional indoor LED differs in assembly and QC. Micro-LED uses pick-and-place processes for millions of tiny LEDs, increasing precision demands. Traditional outdoor led screen panels rely on larger LEDs, simpler modules, and robust enclosures to meet IP ratings. In practice, a production teardown checks solder integrity, heat-sinking, and calibration ports. The teardown also reveals serviceability — how easy to swap a module or adjust brightness — which directly affects lifecycle cost. For those comparing options, note that outdoor led display screen designs add weatherproof gaskets and higher current management components to handle sun and moisture stress.
Common mistakes teams make during selection and install
Teams often choose the highest resolution they can afford without matching viewing distance and content. Result: wasted budget and dim visuals in daylight. Another frequent error is neglecting refresh rate and sync for camera broadcast — stadium screens need higher rates to avoid flicker on TV. Mounting mistakes are common too; insufficient support for heavy cabinets leads to misalignment over time. Plan for calibration access and spare modules. — Also, never skip a daylight test if you expect ambient sun; perceived brightness varies with environment.
How to compare vendors and specs practically
Use a short checklist when you evaluate vendors: 1) pixel pitch vs typical viewing distance, 2) rated brightness (nits) and tested daylight performance, 3) serviceability — how fast you can replace a faulty module. Add refresh rate and color calibration tools if broadcast is a need. Ask for sample calibration reports and cabinet flatness tolerances. Budget the installation and ongoing maintenance as part of total cost, not just upfront hardware price.
Real-world anchor and lessons learned
Look at major urban installations such as Times Square and large arenas to see how scale shapes choices. Those projects show that higher brightness and easy module access reduce downtime during peak hours. They also highlight how content planning ties to hardware limits: fewer fast-moving details on lower-refresh walls, richer HDR when brightness and contrast allow. These practical lessons come from observed installations and industry reports on outdoor and arena deployments.
Advisory close: three golden rules for choosing the right display
1) Match pixel pitch to the nearest viewer distance first — this sets perceived sharpness and prevents overspending. 2) Specify tested brightness and refresh rate that align with ambient light and any broadcast use; request measured nits and Hz figures. 3) Verify serviceability and warranty terms, including module-level spares and calibration support, to protect uptime and image uniformity. These three metrics give you measurable checkpoints during procurement and deployment.
The practical value here points to partners who understand both indoor detail and outdoor robustness — and that is where experience counts, like the team behind Coblinks. —